
10 Mac Settings to Help You Work Smarter in 2024

Once in a while, you're bound to upgrade your MacBook to a new model or even change a few specs to make it more productive. During this time, you'll change many settings on the device to improve the macOS experience.
There could be a few tweaks for a more personalized user experience or significant changes that make your Mac faster and much better.
Apple designed MacBooks to allow you to make changes that improve the performance of your device. This comes with plenty of hidden features and settings in MacOS that you might not know about.
Luckily, we have it all covered in this blog. Read on to learn more about macOS settings that you can adjust to get more from your Mac and work smarter!
Best Mac settings to increase your productivity
Your Mac is a powerful tool, but you can do more to improve its efficiency and work smarter. For instance, you should regularly empty Trash, uninstall unused apps, and clear system storage on Mac to free up space, improve performance, and avoid potential slowdowns.
Some additional best Mac settings you should perform on your device for increased productivity include:
1.Turn on FileVault
FileVault is an essential Mac feature that provides an added security layer to prevent someone from decrypting or accessing your data without your login password. When you protect your information using FileVault, your data remains secure even if your Mac is stolen.
Usually, Macs are impressively secure by default, with features like Gatekeeper and Touch ID keeping you safe from unwanted surprises. However, enabling the FileVault settings takes your efforts to protect your Mac a notch higher.
To turn FileVault on:
- Open System Preferences.
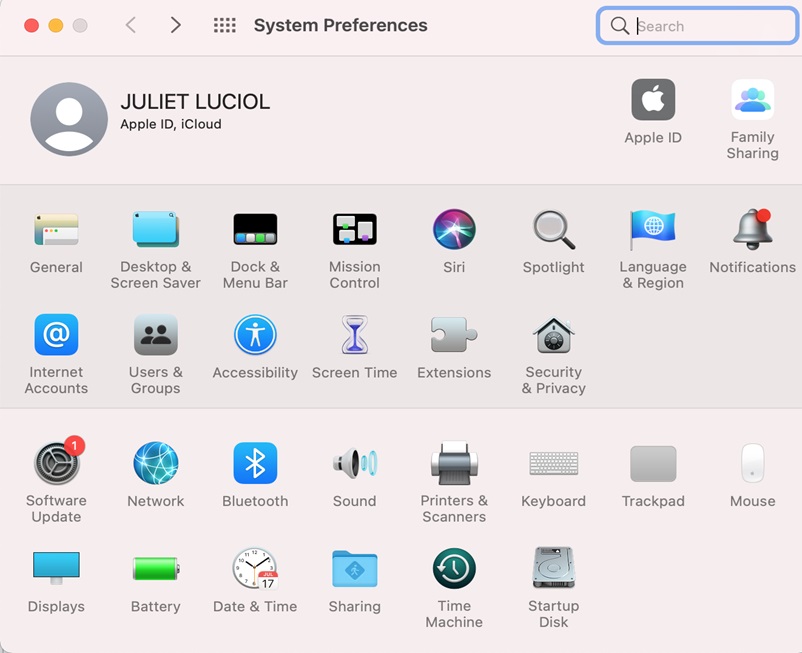
- Select Security & Privacy.
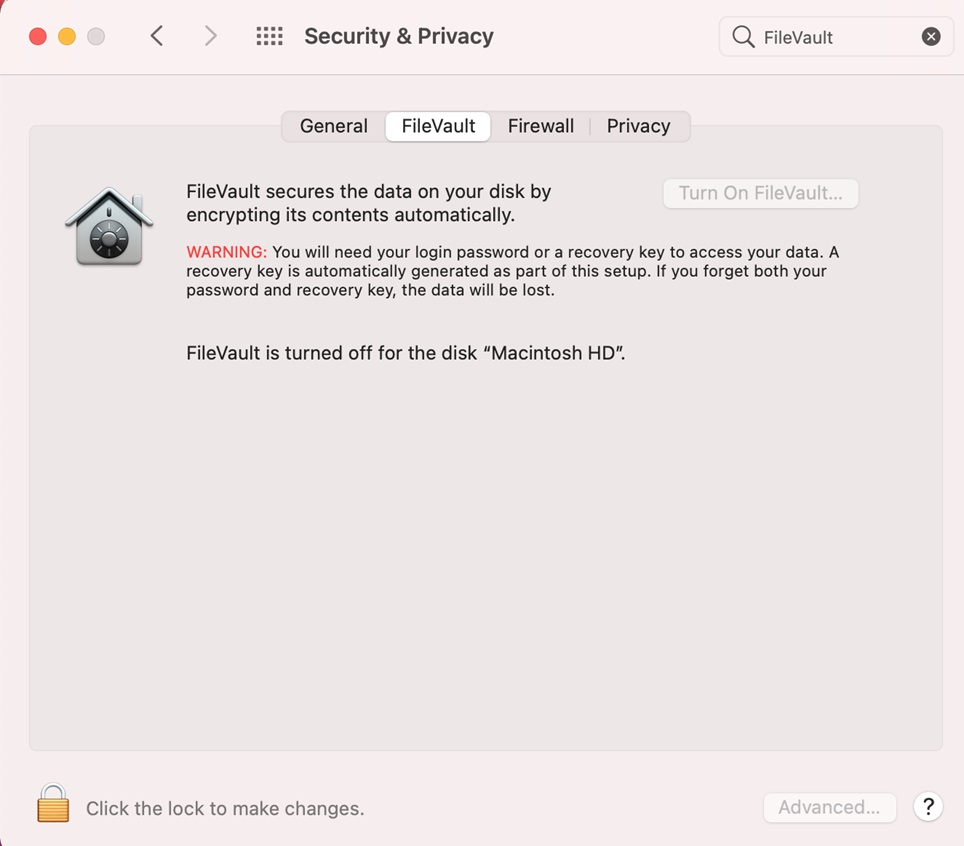
- Go toFileVault.
- Choose Turn On, enter your password, and then select Unlock.
Next, select a generated recovery key or your iCloud login credentials from the on-screen menu. This will be a backup in case you lose your Mac's password. After that, select Proceed and give FileVault a few moments to complete its setup.
FileVault ensures that your crucial files, passwords, and more stay out of the wrong hands. The setting provides the much-needed peace of mind that even if someone steals your MacBook, they most likely won't be able to do anything with it.
2.Change Dock settings
The Dock provides easy access to frequently used apps and features on the Mac desktop, like Launchpad and Trash. In addition to a folder containing files you download from the internet, it can display up to three recently used apps that are not installed.
The Dock has several features that most Mac users are unaware of, including numerous methods for customizing it to their preferences.
For example, you can use the Desktop and Dock settings on Mac to change the appearance of the Dock. They also help you choose settings for the desktop, Stage Manager, widgets, windows, and Mission Control.
To change Dock settings:
- Choose the Apple menu.
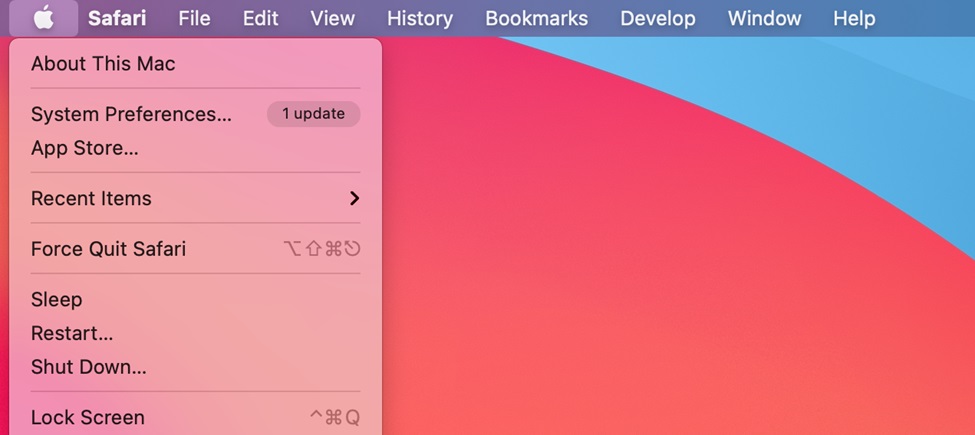
- Select System Preferences
- Click Dock & Menu Bar in the sidebar.

Turning off the genie effect when closing apps is one of the first things you can do in the Dock on a Mac. Here is how to do it:
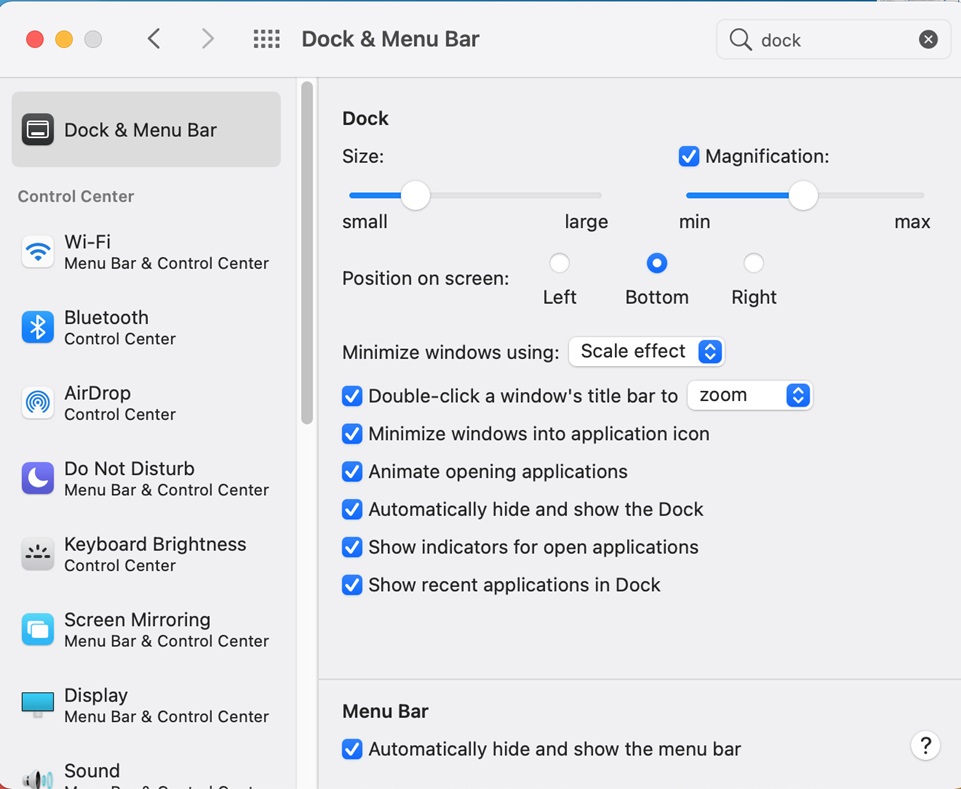
- Open System Preferences.
- Select Dock & Menu Bar.
- Choose to minimize windows using the Scale Effect rather than the Genie Effect.
3.Use split view to handle tasks on the same screen
It can be annoying and time-consuming to swipe through each Tab to find the one you're looking for when using your Mac at home for business. If you want to avoid this inconvenience and work smarter on your device, Mac allows you to use a split screen view.
Split View allows you to work with two apps simultaneously. With this configuration, you can work more productively by handling numerous projects on the same screen, eliminating the need to resize either window.
Here's how to use this useful MacOS feature to open numerous windows simultaneously and save time:
- Launch the two apps you're using on opposing screen sides.
- Proceed and click on the green bubble to access a drop-down menu in the upper left corner of one of the app's windows.
- Choose between the Tile Window to the Right and Left of the Screen options. That app will occupy the side you choose.
- To have the other app take up the remaining space on the screen, click on the one on the other side.
Exiting split screen:
- Click the green bubble again or hit Esc on your Keyboard to close Split View. This closes one app in Split View; the other app will now run in full-screen mode.
4.Enable the Do not Disturb (DnB) setting
Whether at work or home, being productive with your Mac requires extra measures beyond just focusing on the task at hand. It means locking out everything that could disturb you and not responding to anything during prolonged deep work.
Mac has settings that ensure you prioritize your work, depending on what you've got going on. If you need a few hours or more of deep work, you can keep off constant distractions by enabling the Do Not Disturb setting.
Here is how to do it:
- Go to System Preferences.
- Select Dock & Menu Bar. You’ll find Do Not Disturb in the Control Center.
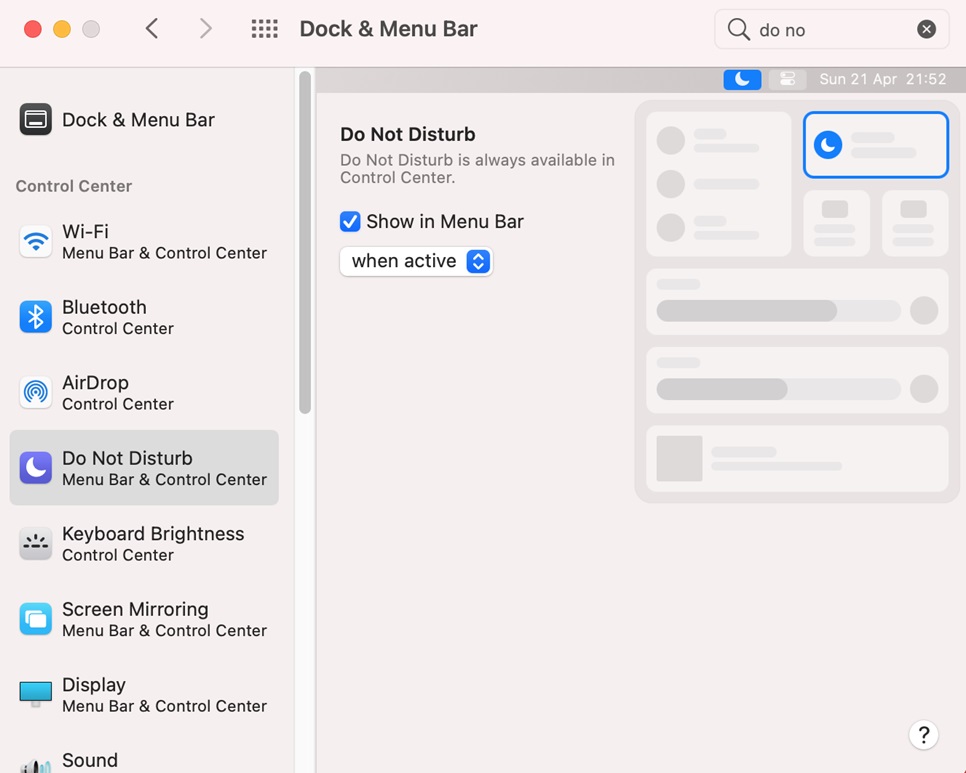
- Set a period when you want to avoid distractions and activate the DNB mode.
- Turn off the setting when you want the Mac back to normal by following the same process.
The Do Not Disturb setting is a Mac setting that can quickly become a productivity hack for your daily work routine. It’s not just a feature to silence notifications—it is about reclaiming your time by prioritizing what's important.
5.Set up hot corners
There are many useful keyboard shortcuts and trackpad movements available on your Mac. These shortcuts rapidly activate programs, settings, and other features. Hot corners is a lesser-known Mac feature that allows you to do more in less time.
The Hot Corners function allows you to perform various tasks by simply dragging your mouse pointer to the corner of your screen. For instance, you can use this feature to lock your Mac or activate Mission Control.
Here is the step-by-step process to enable Hot Corners on Mac:
- Open the System Preferences.
- Select Desktop and Screensaver.

- Scroll right to the bottom.
- Select Hot Corners in the bottom-right corner.
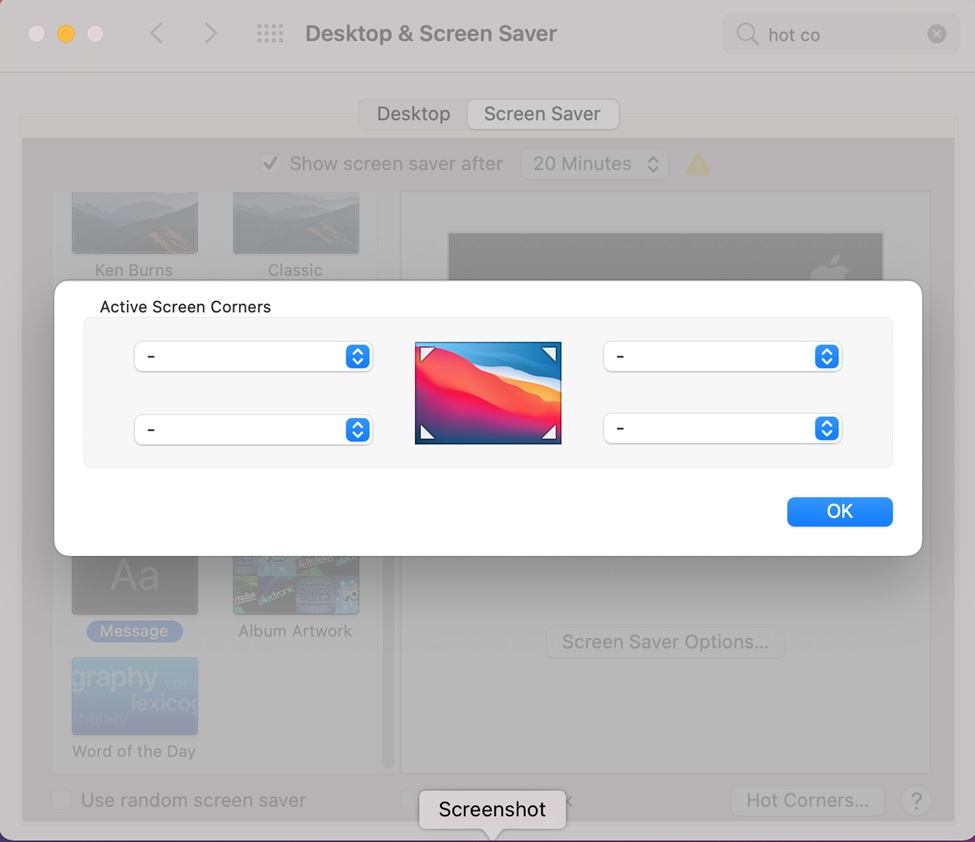
- Choose any shortcut from the four drop-down menu.
- Click Done to apply the changes.
Once you enable the feature, you can set your hot corners in the little window that appears. The four corners, top-left, top-right, bottom-right, and bottom-left correspond to each box you see.
Simply click the box next to the corner to which you want to add an action, then choose an action from the menu.
6.Set up automatic software updates
Since Apple regularly releases macOS upgrades, the Mac you purchased likely wasn't operating on the most recent OS version. One setting you need to perform is upgrading your device to keep it performing at its optimal best.
Here is a simple process to follow if you haven’t upgraded your Mac yet:
- Click the Apple Menu.
- Choose About This Mac.
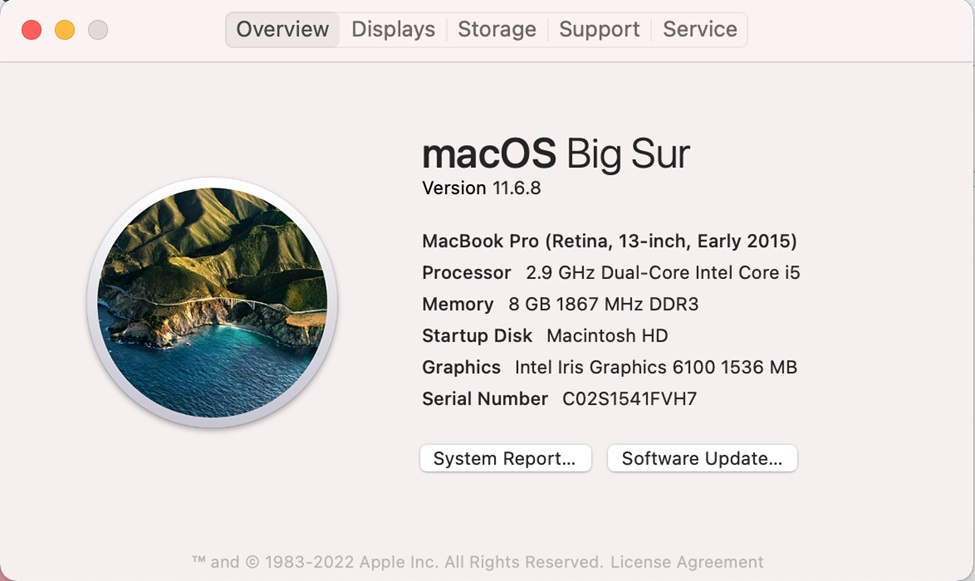
- Select the Software Update option from the Overview pane.
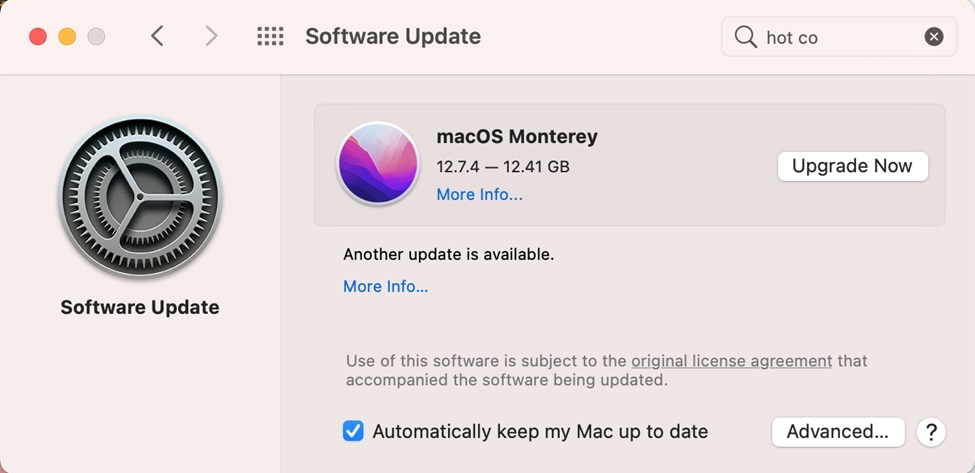
- Click Upgrade Now to install the most recent update.
To avoid manually performing this process repeatedly, Apple has a settings option that allows you to keep your Mac up to date Automatically. A notification informing you that updates are available appears on your screen when you enable this setting.
The setting will keep your device always running on the latest software releases from Apple. All the bugs that could slow you down and impact productivity are effectively patched up during each update.
7.Change default apps
Your Mac will always open files using the macOS apps that are already installed when you initially bought it. However, if you broaden your horizons and utilize other available apps, you may prefer to use them instead of the default ones.
There’s a simple way you can modify the Mac's default apps:
- First, you need to right-click on the particular app and choose Get Info.
- Click the > arrow next to Open with.
- Choose an application from the list that appears.
- Choose Change All from the menu below, then click Proceed.
For example, if you’re tired of using Chrome Web Browser and want to try out some of the best Safari browser features, here is the process to follow:
- Open System Preferences.
- Click General in the top-left corner of the screen
- Scroll and locate a note labeled Default web browser.
- Select the drop-down arrow and pick the option you want.
8.Stay in sync with iCloud
Having everything you need on your devices, no matter where you are, saves time. If you're using a Mac, there's no need to walk around with storage devices such as USBs or Hard disks.
You can sign up for one or more storage providers, depending on what you need to sync and how frequently. Alternatively, Apple allows you to use iCloud Drive on both macOS and iOS. It provides you with 5GB free, but you can purchase 1TB of storage for $9.99 a month.
All you have to do is ensure you sign into each device with the same Apple ID. After that, anything you store on one device will also be saved on the other.
9.Enable trackpad gestures
You can do more using Apple's operating system's helpful trackpad gestures with only a few quick swipes. The best part is that you change most of them to suit your requirements. Here's how to use this setting on a Mac and get more productivity:
- Click the Apple menu.
- Select System Preferences.
- Press the Trackpad button.
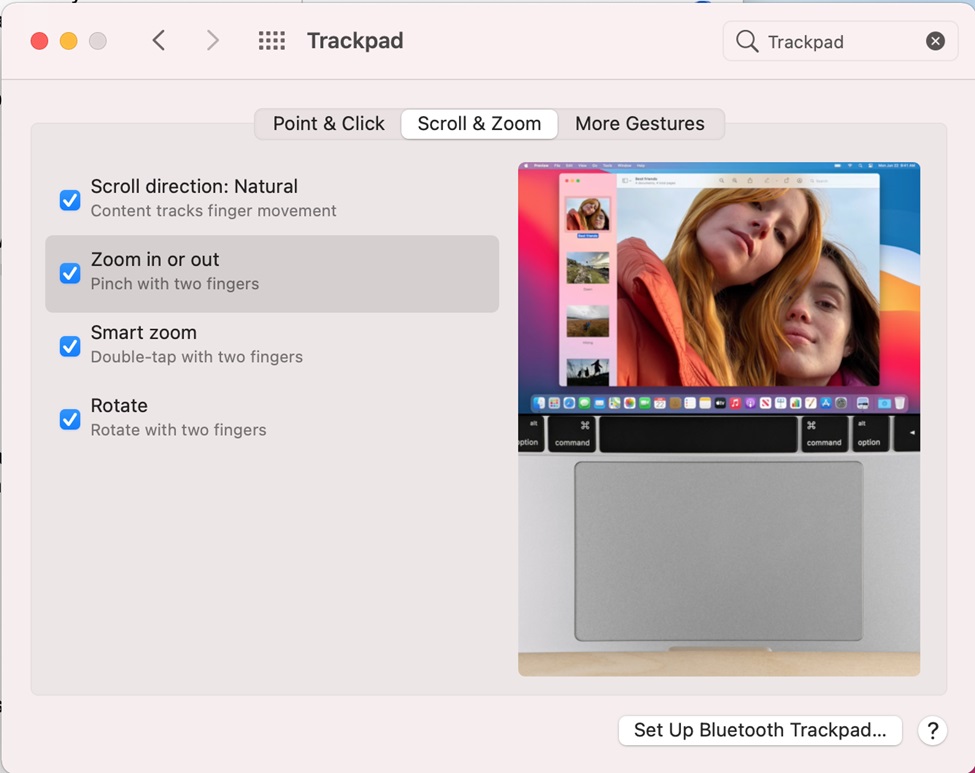
This is where you can modify trackpad gestures and find out which gestures are compatible with your Mac to improve its performance. Additionally, you can modify or turn off the motions in the Trackpad settings.
10.Create keyboard shortcuts
Using keyboard shortcuts to open apps and switch between menus is quicker and more effective than moving your hands off the Keyboard.
Keyboard shortcuts can also save you in case your mouse or trackpad breaks. There are numerous Mac keyboard shortcuts that’ll help you in your daily work.
For example, you can press the Command key to display Spotlight or Command + Tab to enable fast app switching. You can also create more keyboard shortcuts by following these simple steps:
- Go to the Applemenu.
- Select System Preferences.
- Choose Keyboard.
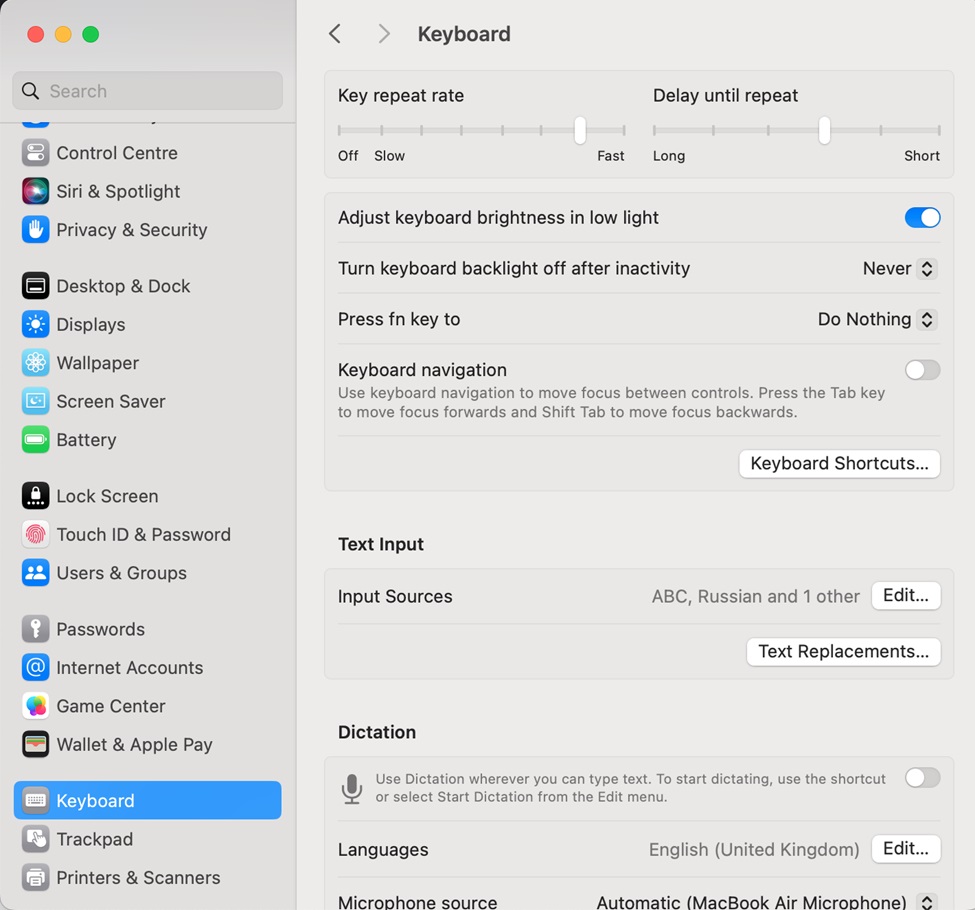
- Select Keyboard shortcuts.
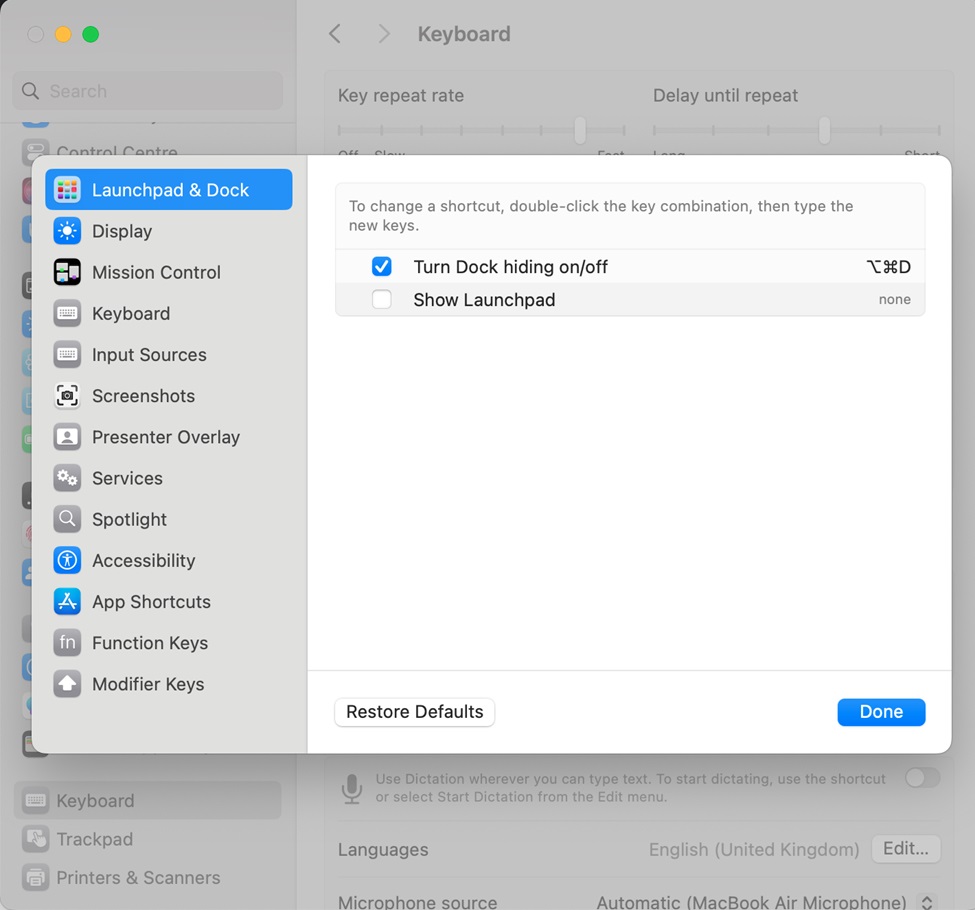
- Click on the (+) button in the menu to create a new shortcut.
Final thoughts
You can do much more with your Mac to improve its efficiency and your productivity and work. The above ten settings highlight some basic tweaks you should apply on your Mac to enable you to work smarter.
However, there are loads of other valuable tips and tricks that Mac owners should know to get the most out of their devices. Depending on your needs, Apple has you covered with a Mac setting that’s up to the task.